Rye Bread

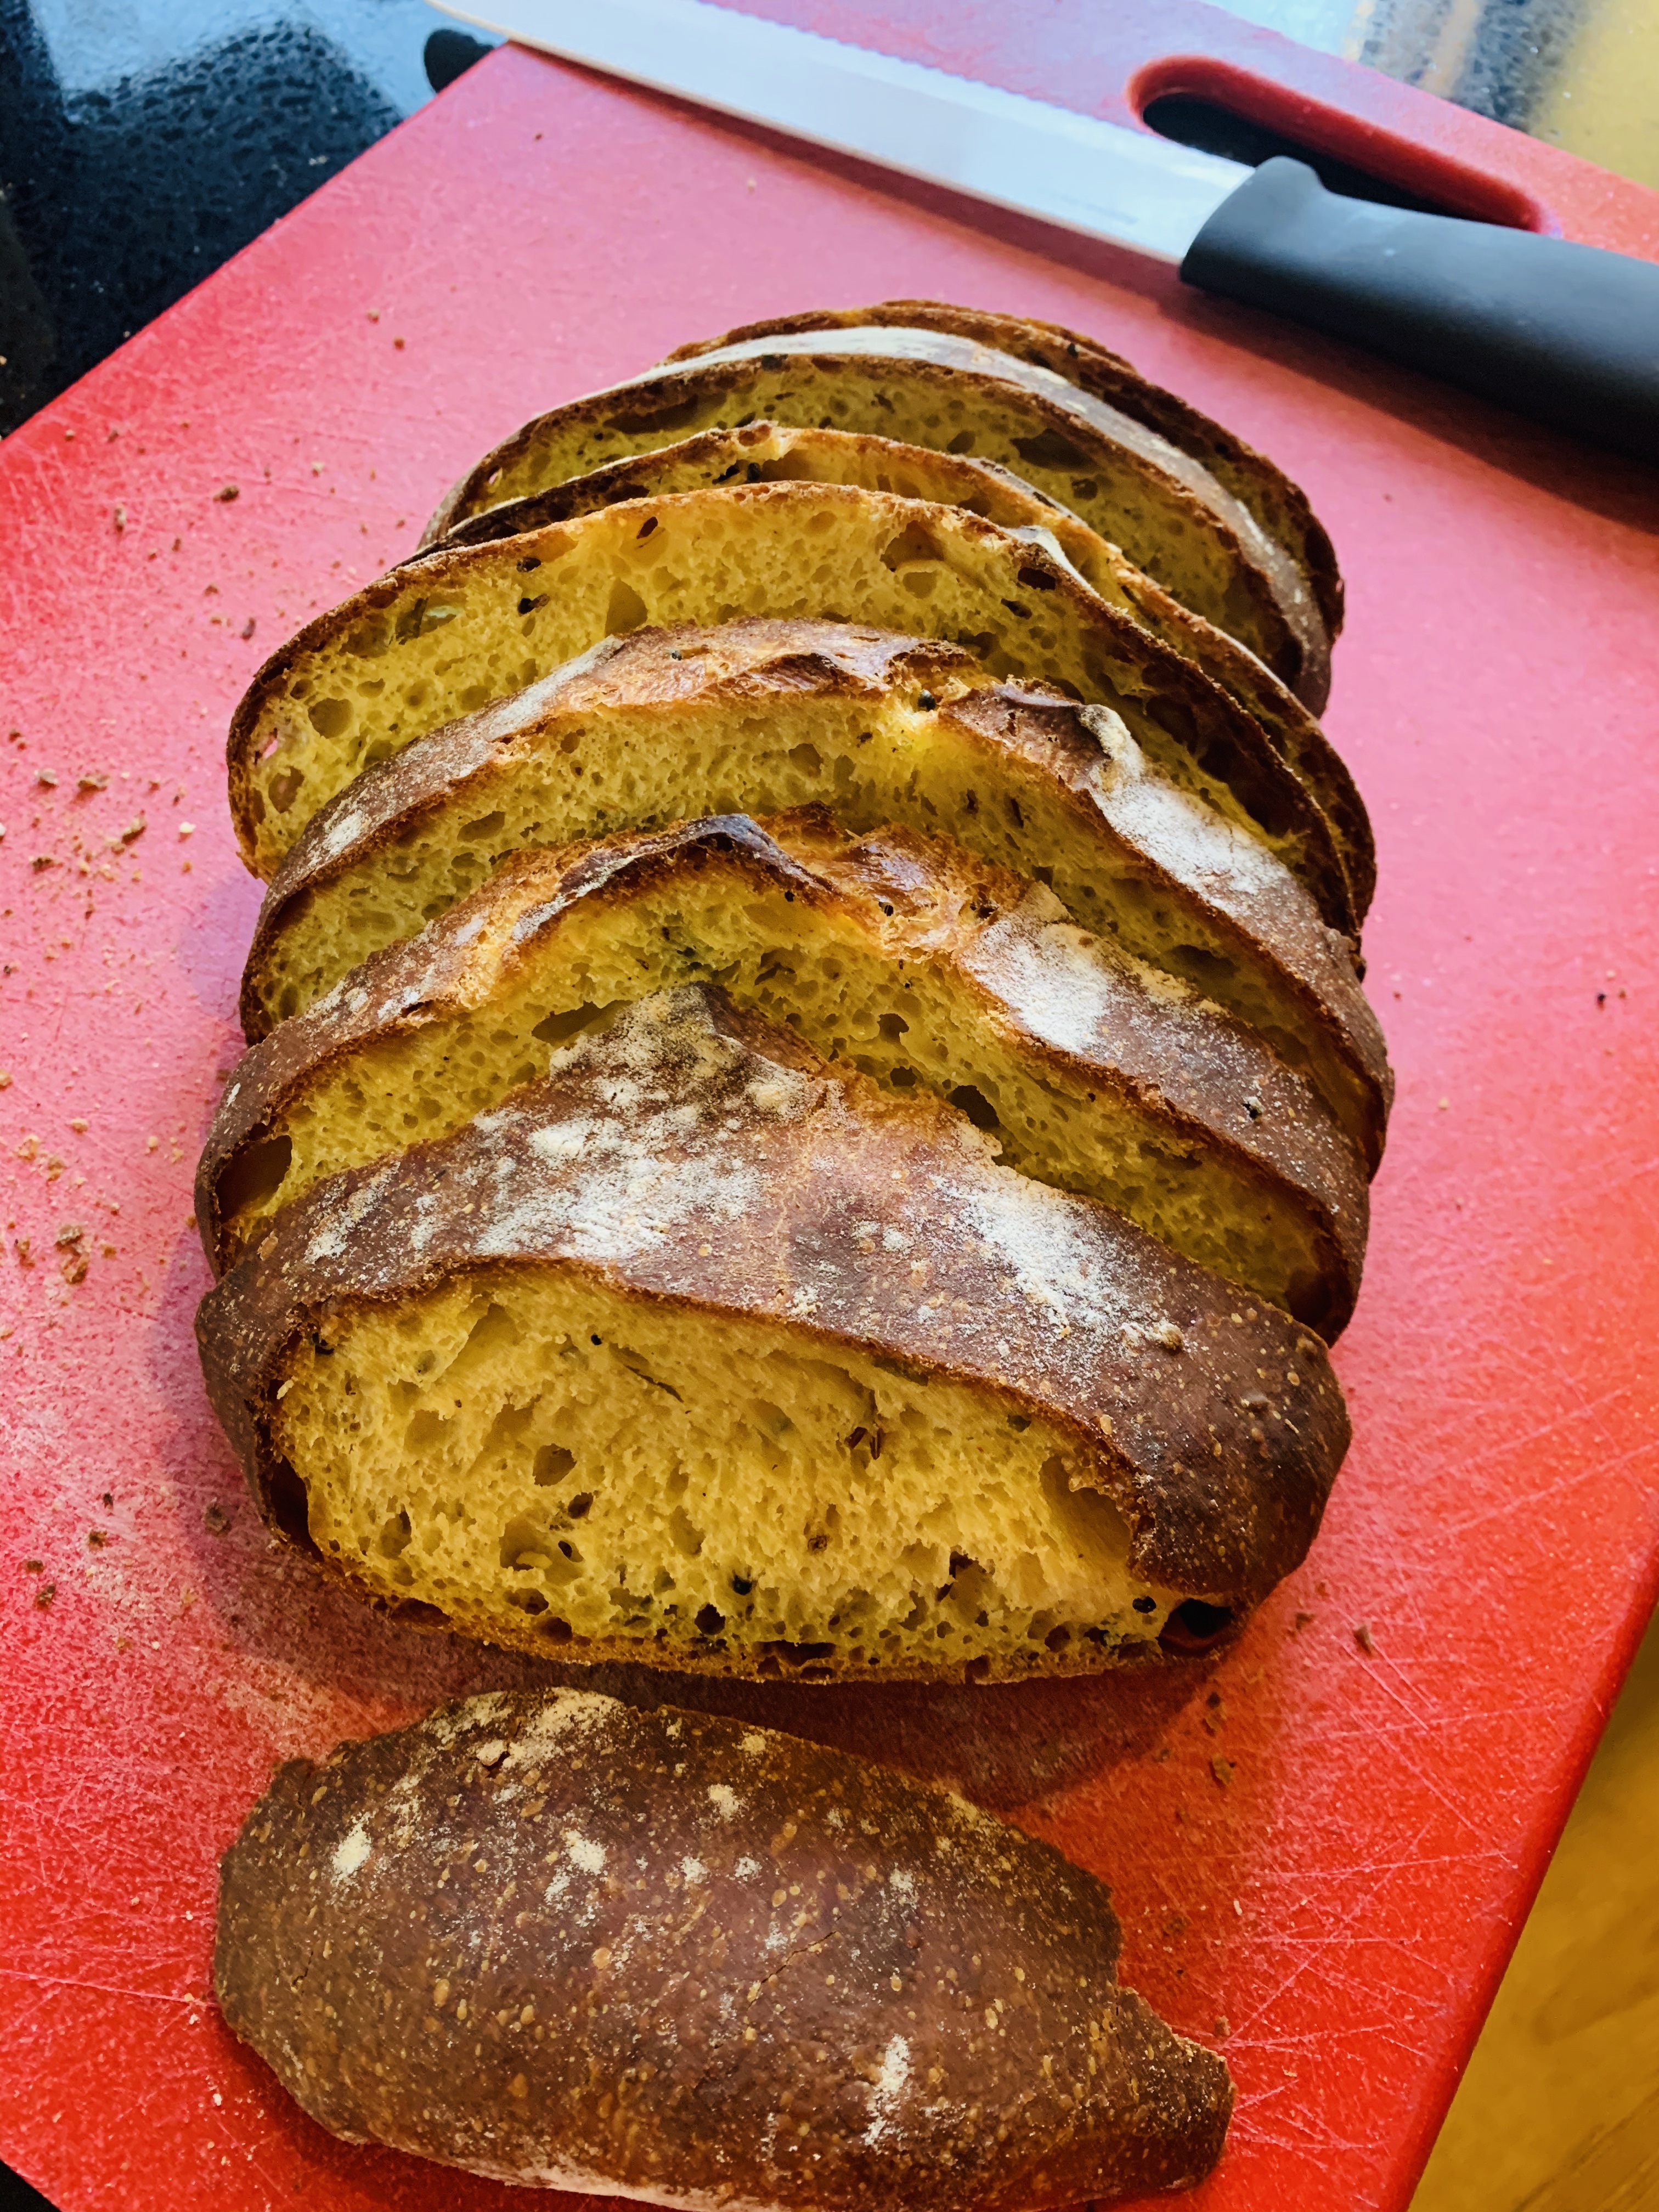
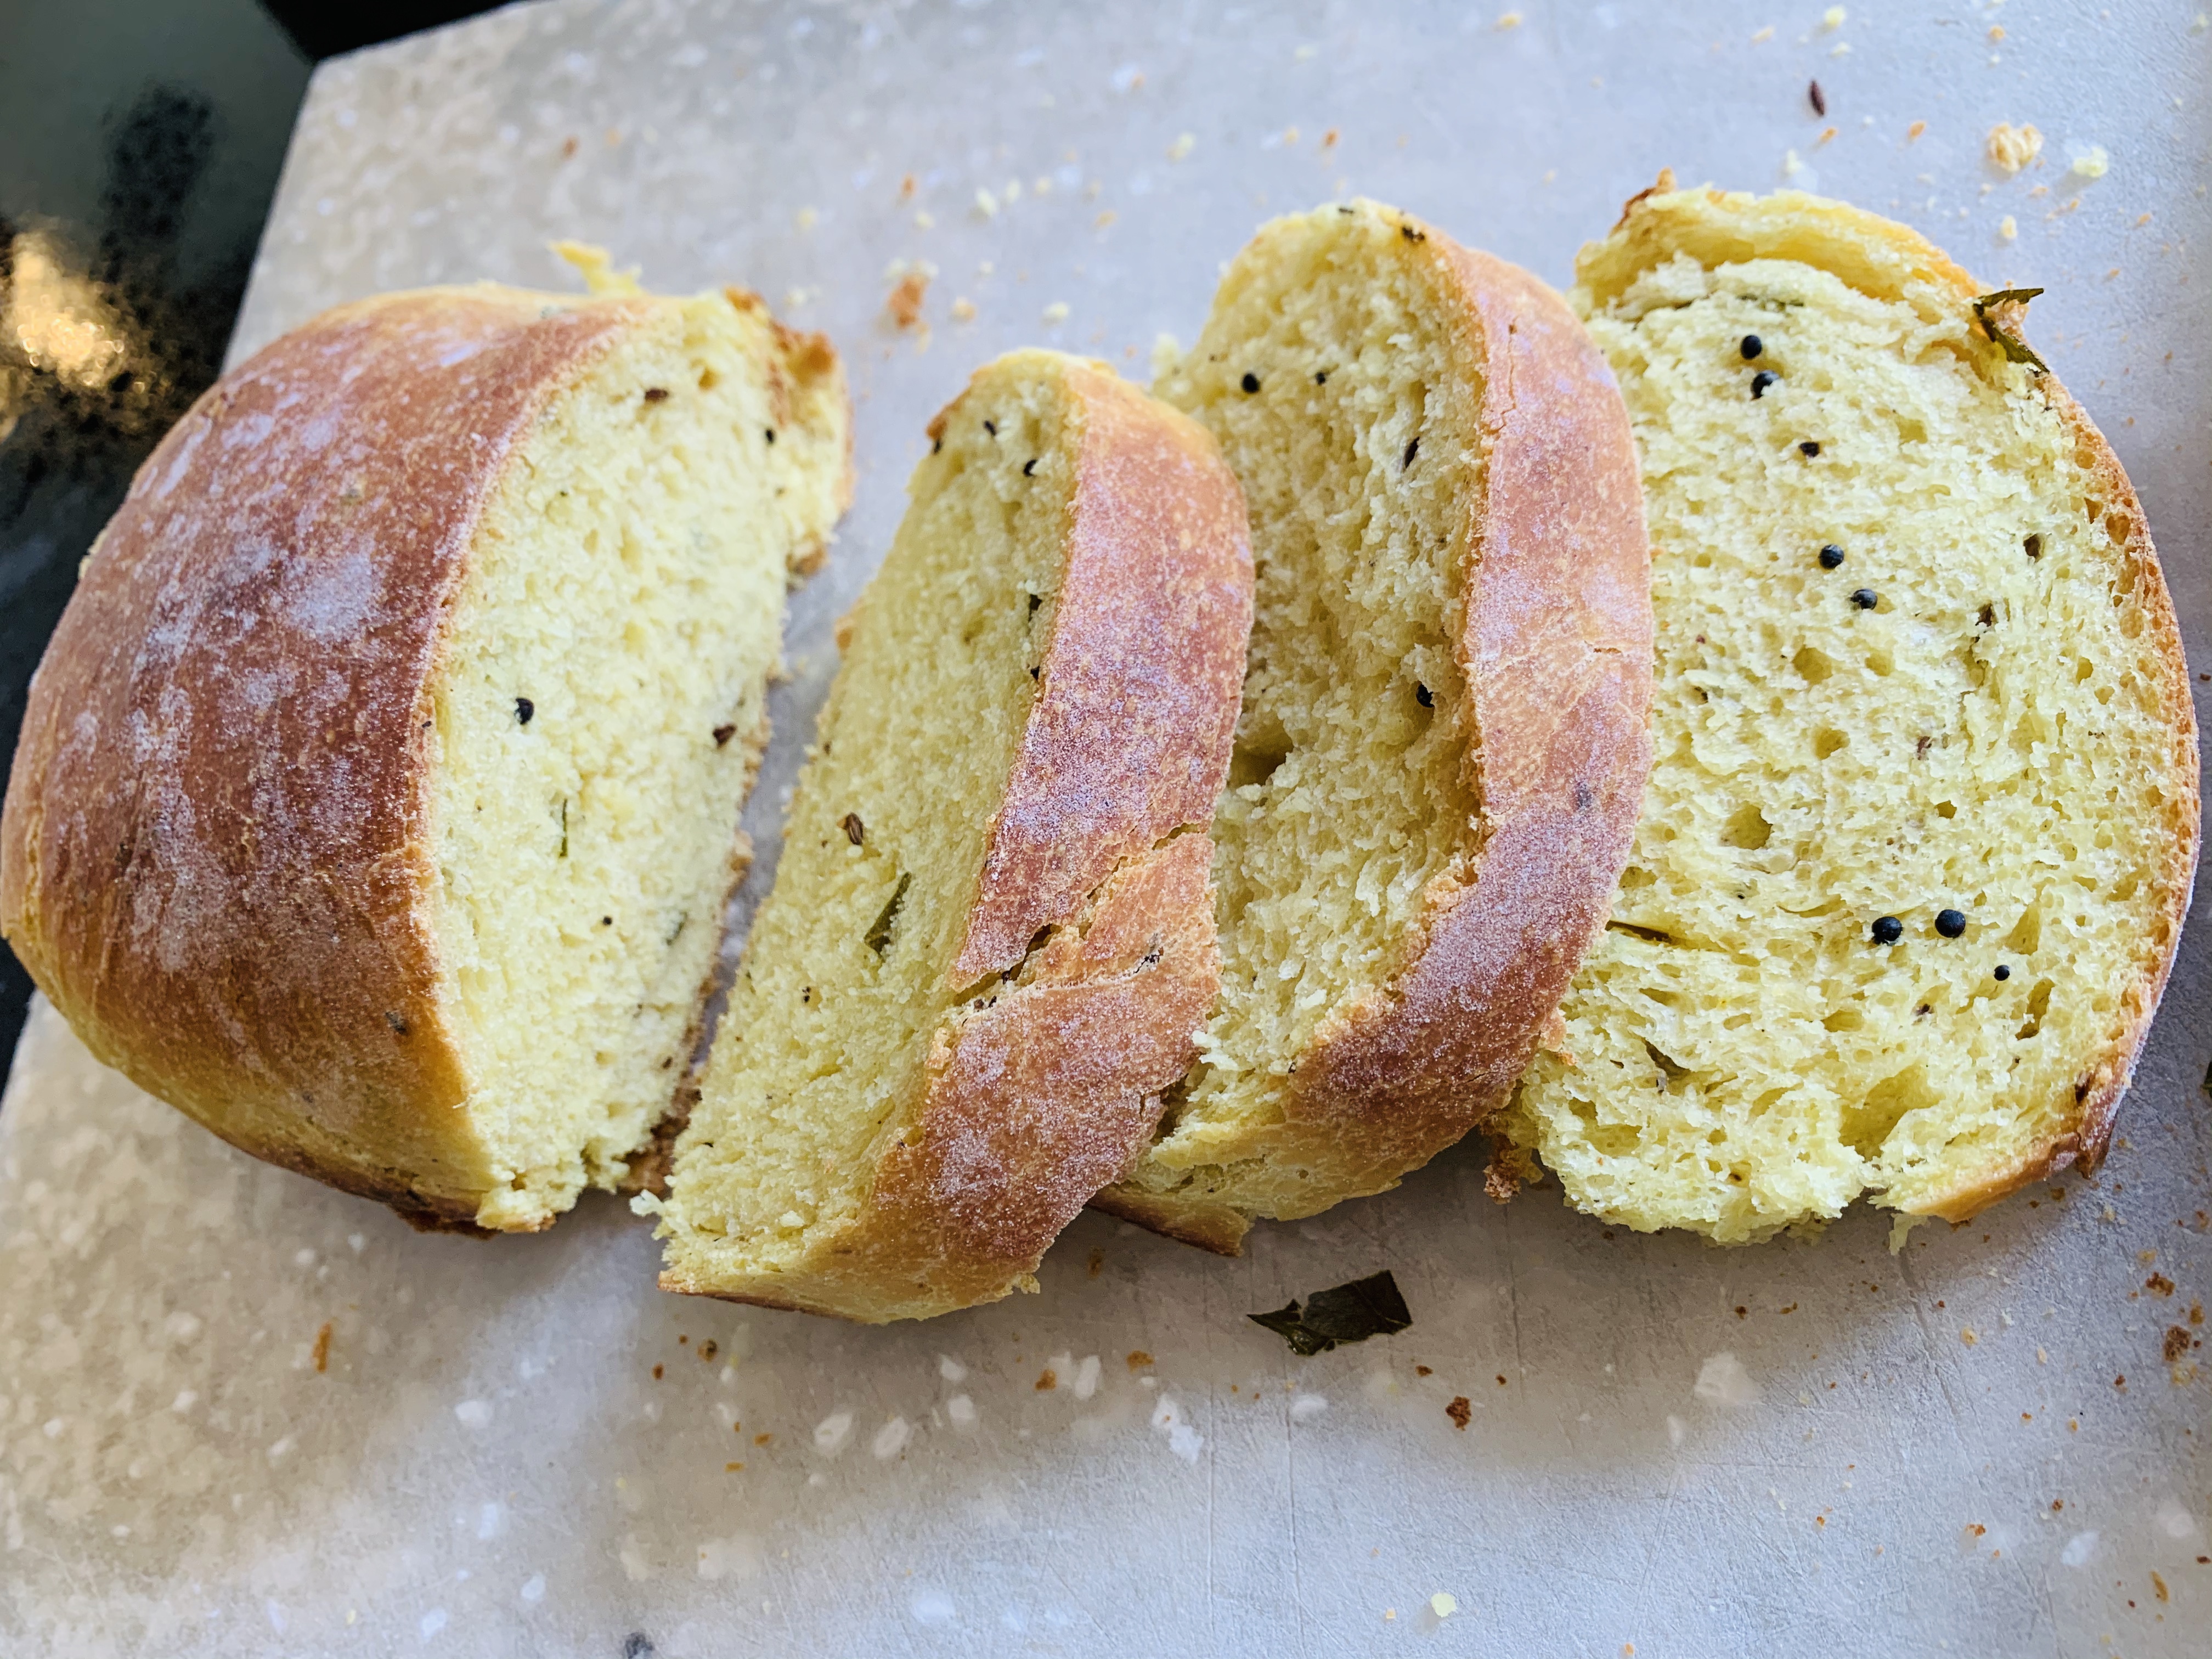
The quarantine has led me to a lot of bread recipes. I enjoy trying new things but I come back again and again to my favorite loaf .The recipe works as a boule and a loaf. It is delicious with butter, hearty enough for soup and fantastic as garlic bread. This is a recipe from my all time favorite bread book- Artisan Bread in Five Minutes a Day. Everyone should buy this book . The premise is simple, make a no-knead dough and let it rise slowly. The yeast does the gluten development for you. Let it rest in your refrigerator. The bread picks up delicious sourdough flavors. When you want to bake, all you have to do is separate out enough dough for one loaf and shape and let it rise.

This recipe makes two loaves- about a pound each. This can be doubled easily if you are planning to bake 4 loaves over 14 days.

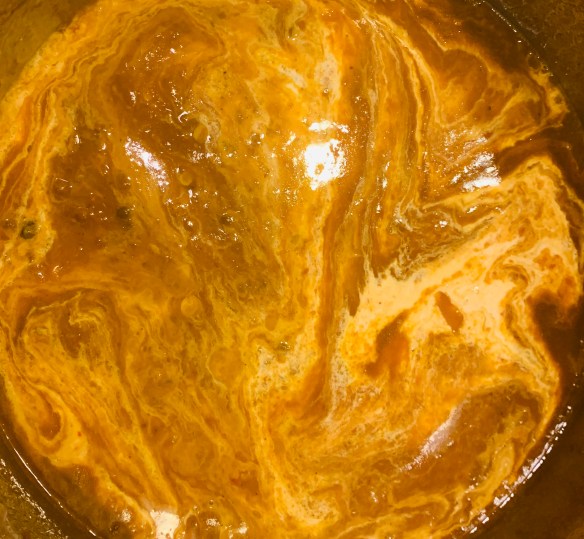
  1. Mix 1.5 cups of lukewarm water with 1/2 tbsp of instant or active dry yeast. Add to 60 gm of rye flour (1/2 cup) and 390 g of all purpose flour (around 2 3/4 cups) and 1/2 tbsp of caraway seeds and 3/4 tbsp of kosher salt. I mix with a danish whisk but you can use a spoon or your hands or the paddle on a stand mixer-  make sure all the flour is incorporated.  Do not knead
  2. Cover and let rise at room temperature for 2-3 hours (until the dough rises and then flattens on top)
  3. Refrigerate and use within the next 14 days (it really is that easy)
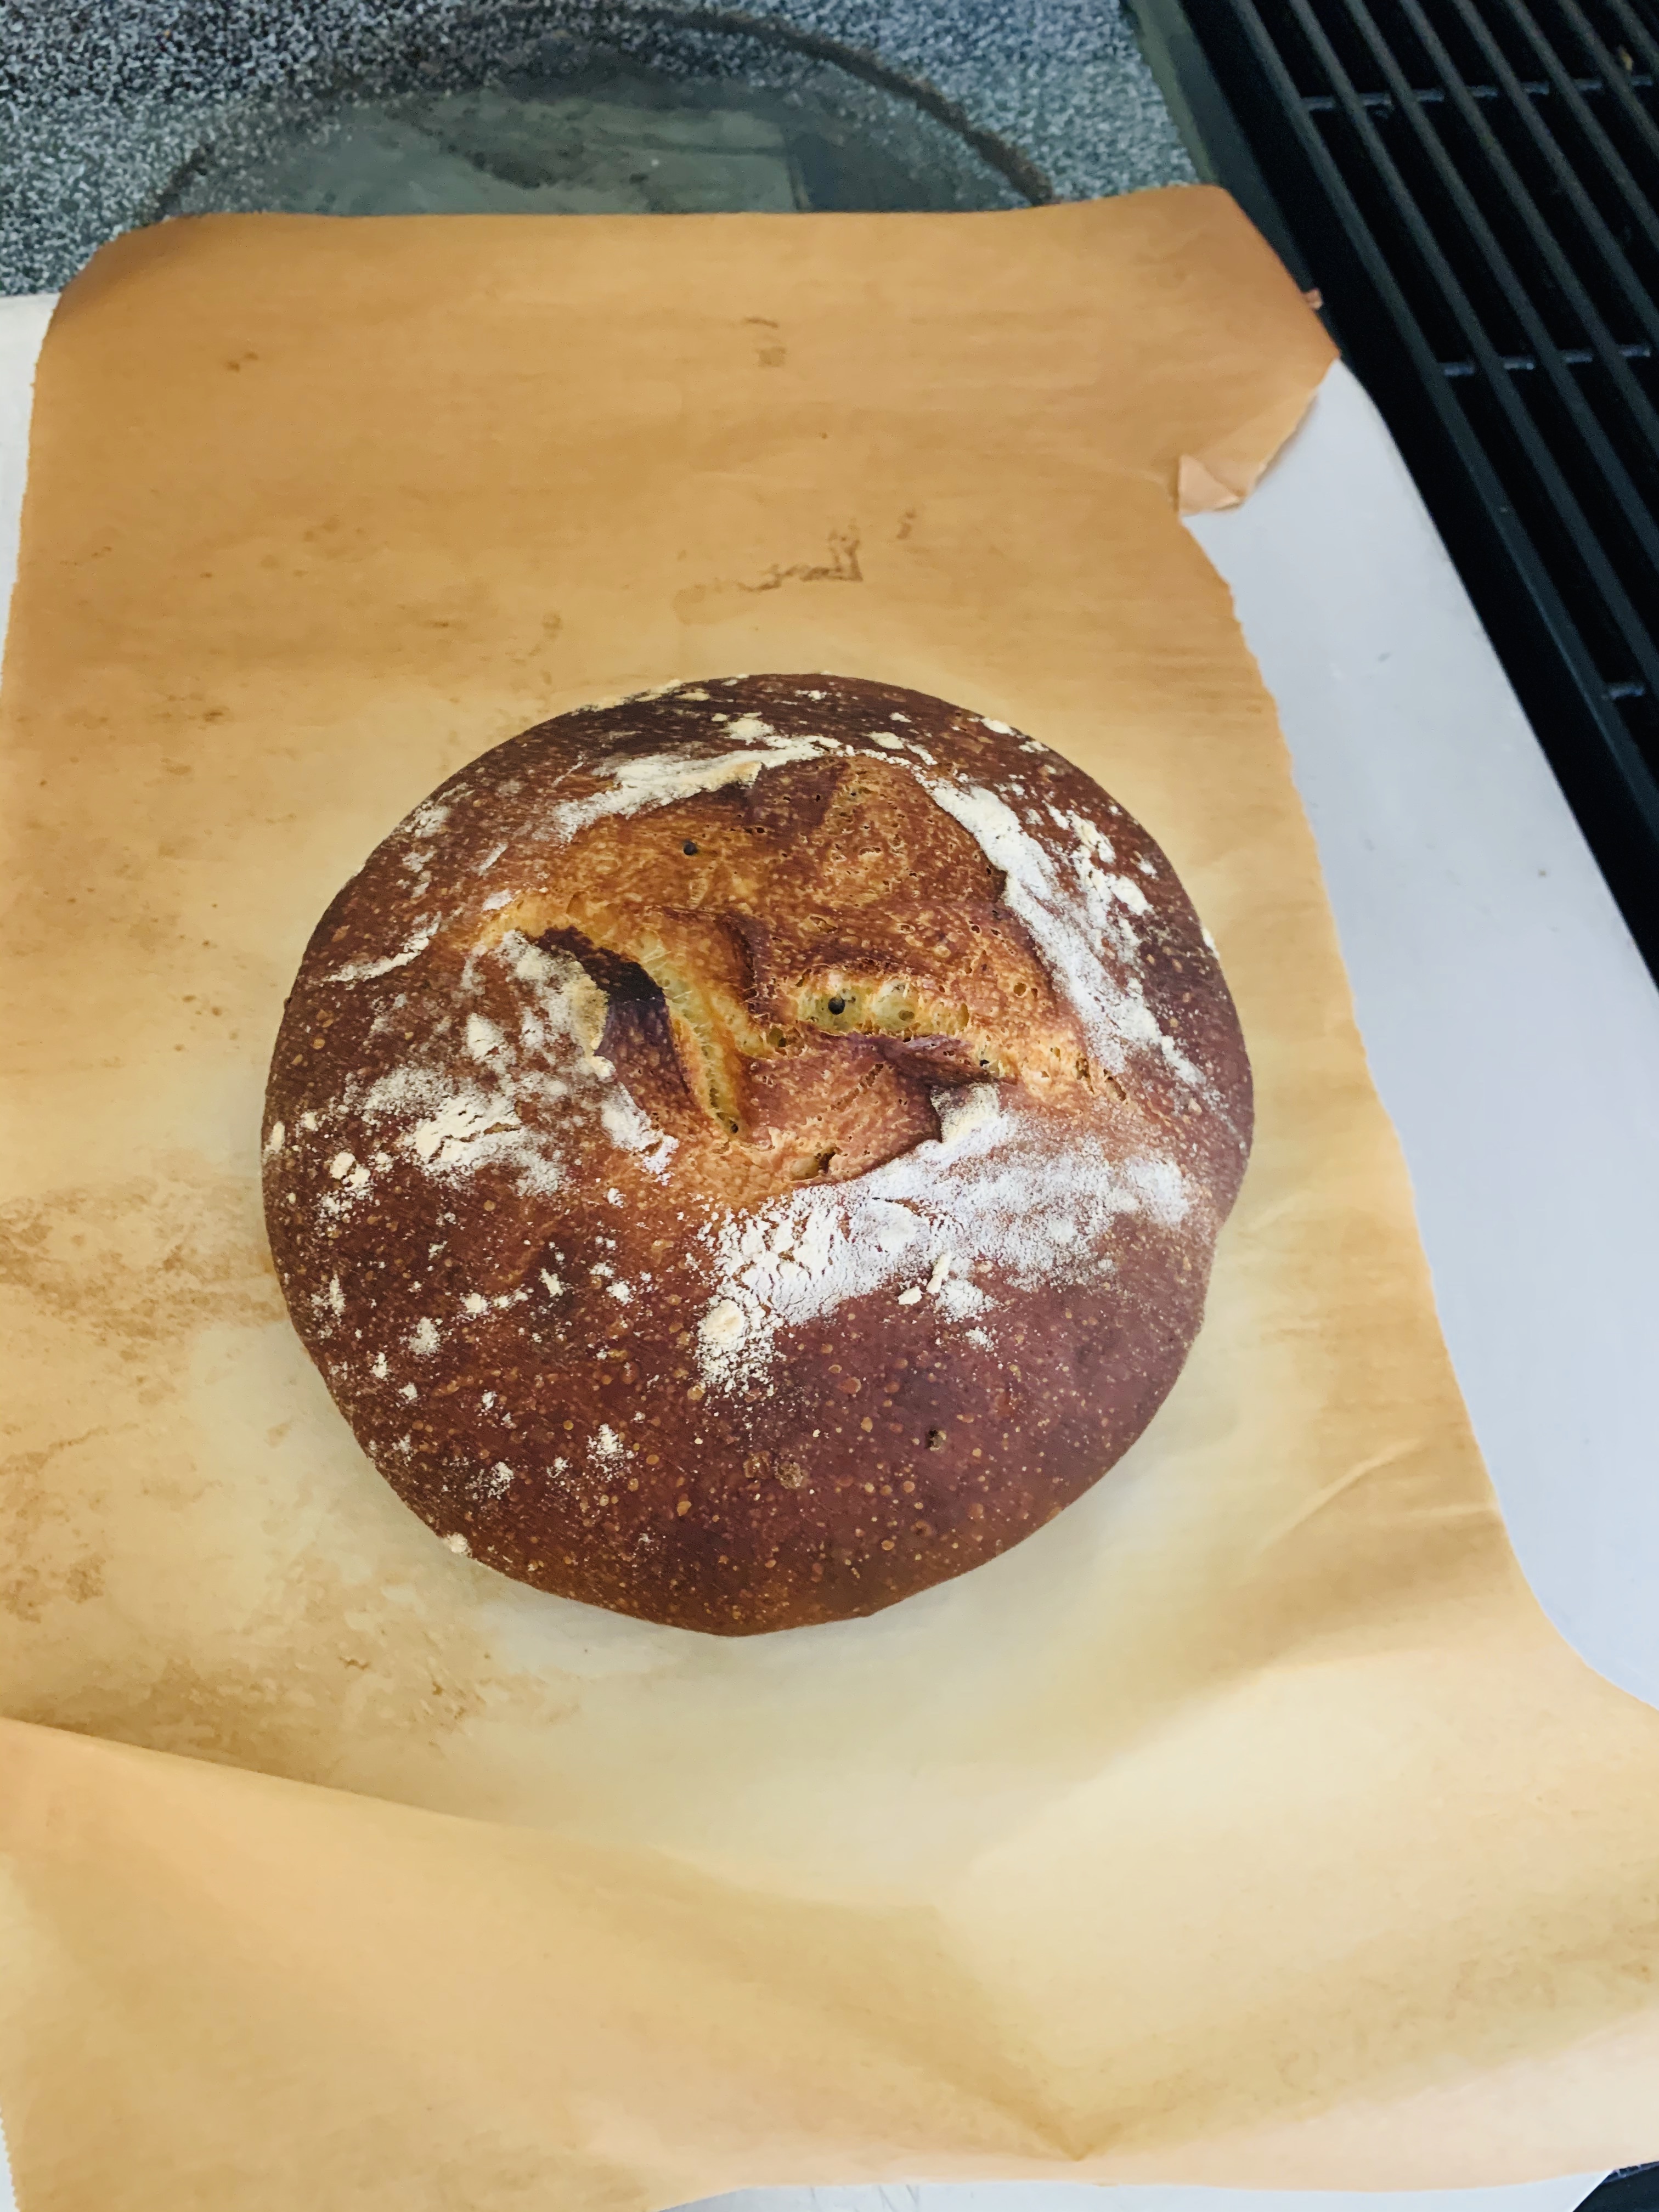
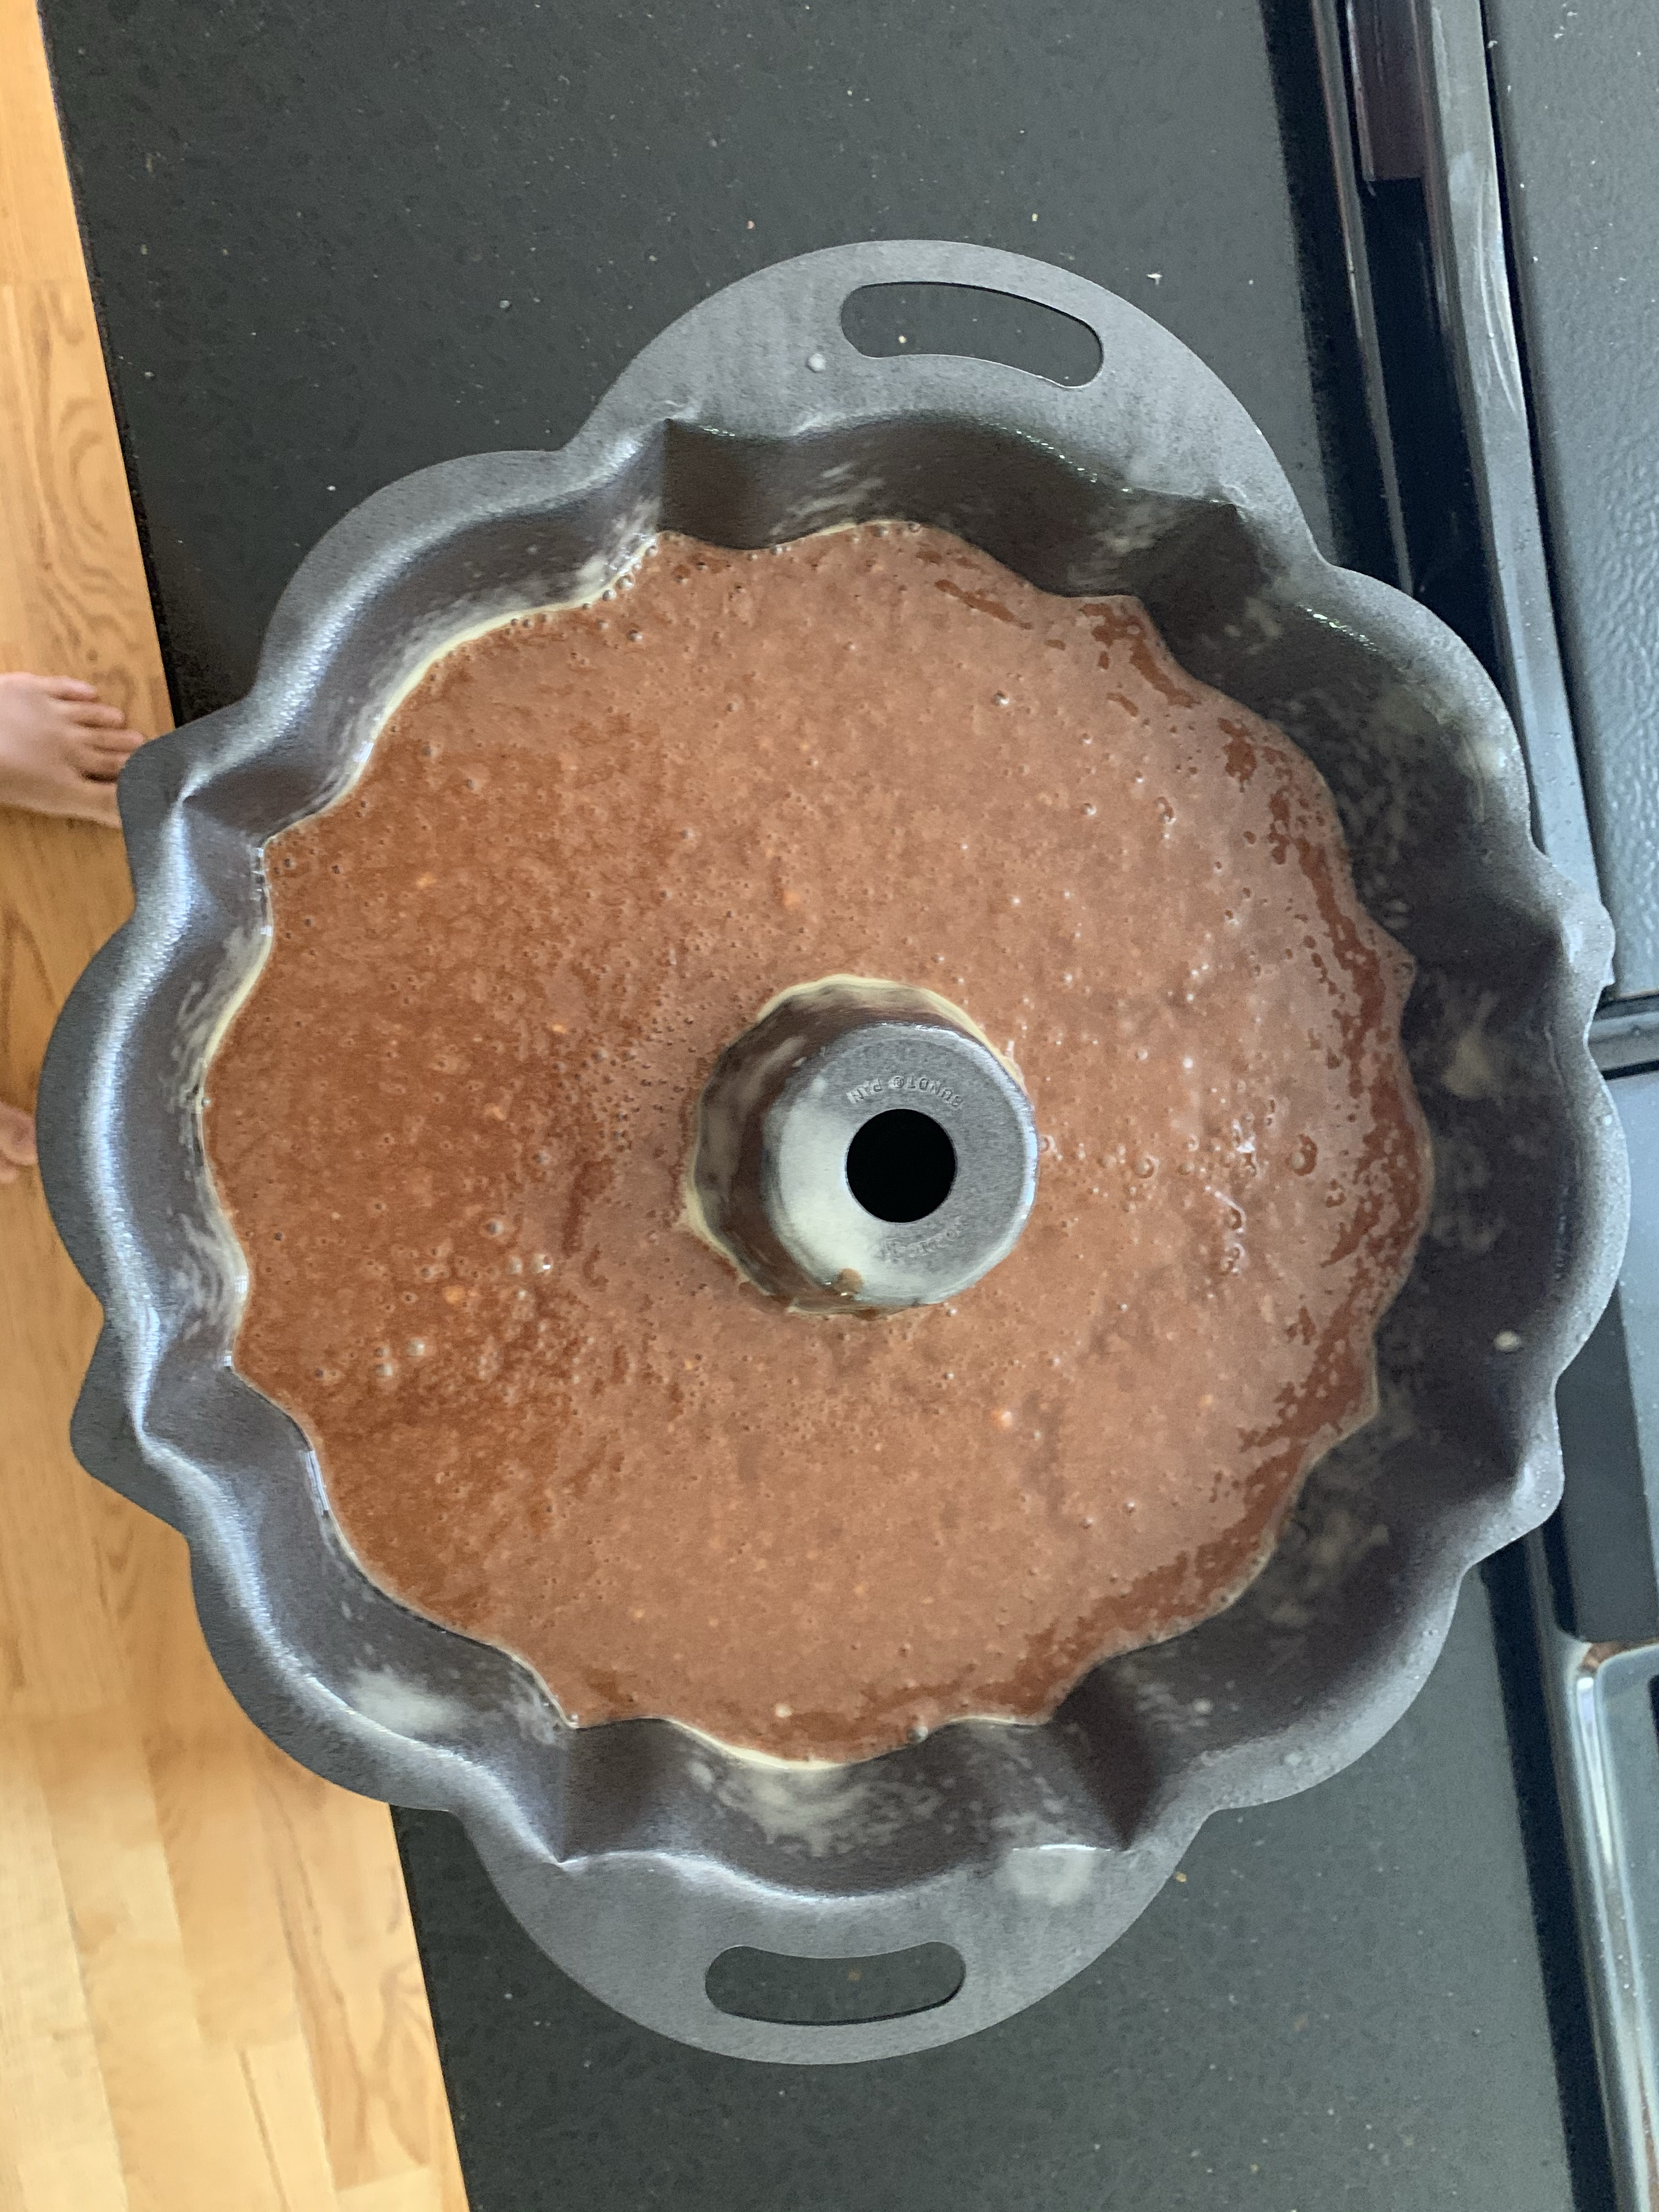
  4. Baking day! Seperate out half the dough and shape  into the bread you wish. Dust your worksurface with flour and shape into a ball or an oblong if you plan a loaf.This is the toughest part. The dough will be wet and sticky and it is important to shape it properly with a thin film of flour. If this is your first time- watch some youtube videos. Place on parchment or a greased loaf pan (8 1/4 inch) . Cover with a dome or greased plastic wrap and let it rise for 1-2 hours. In a loaf pan, the bread will be about half an inch below the lip of the pan.
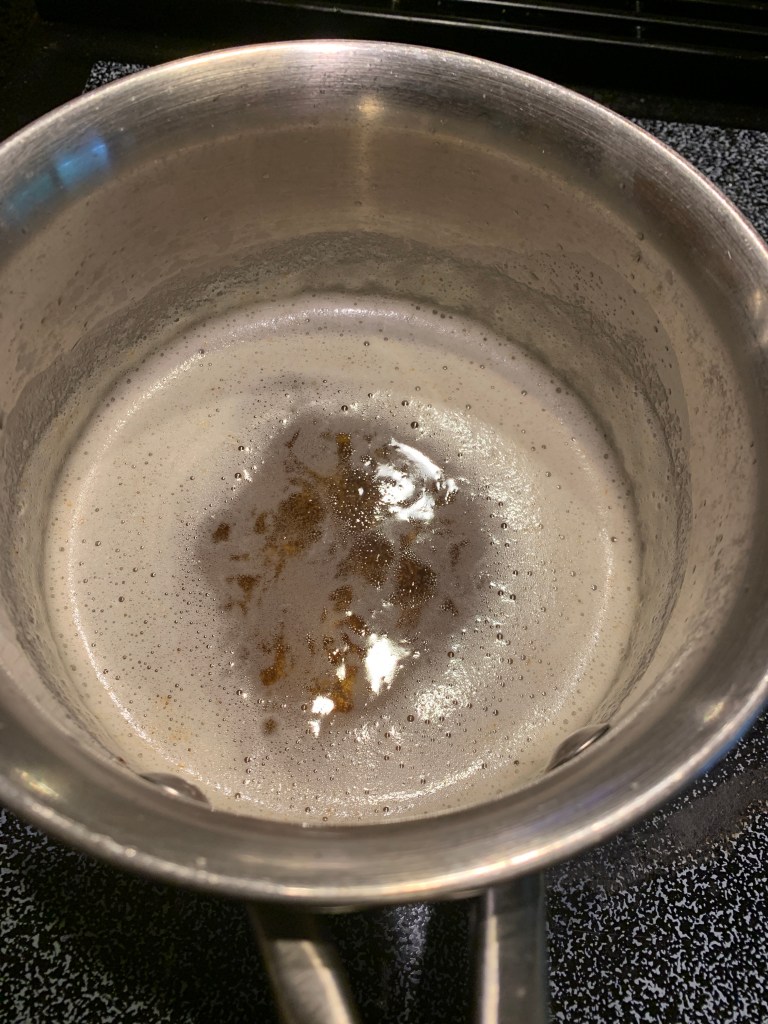
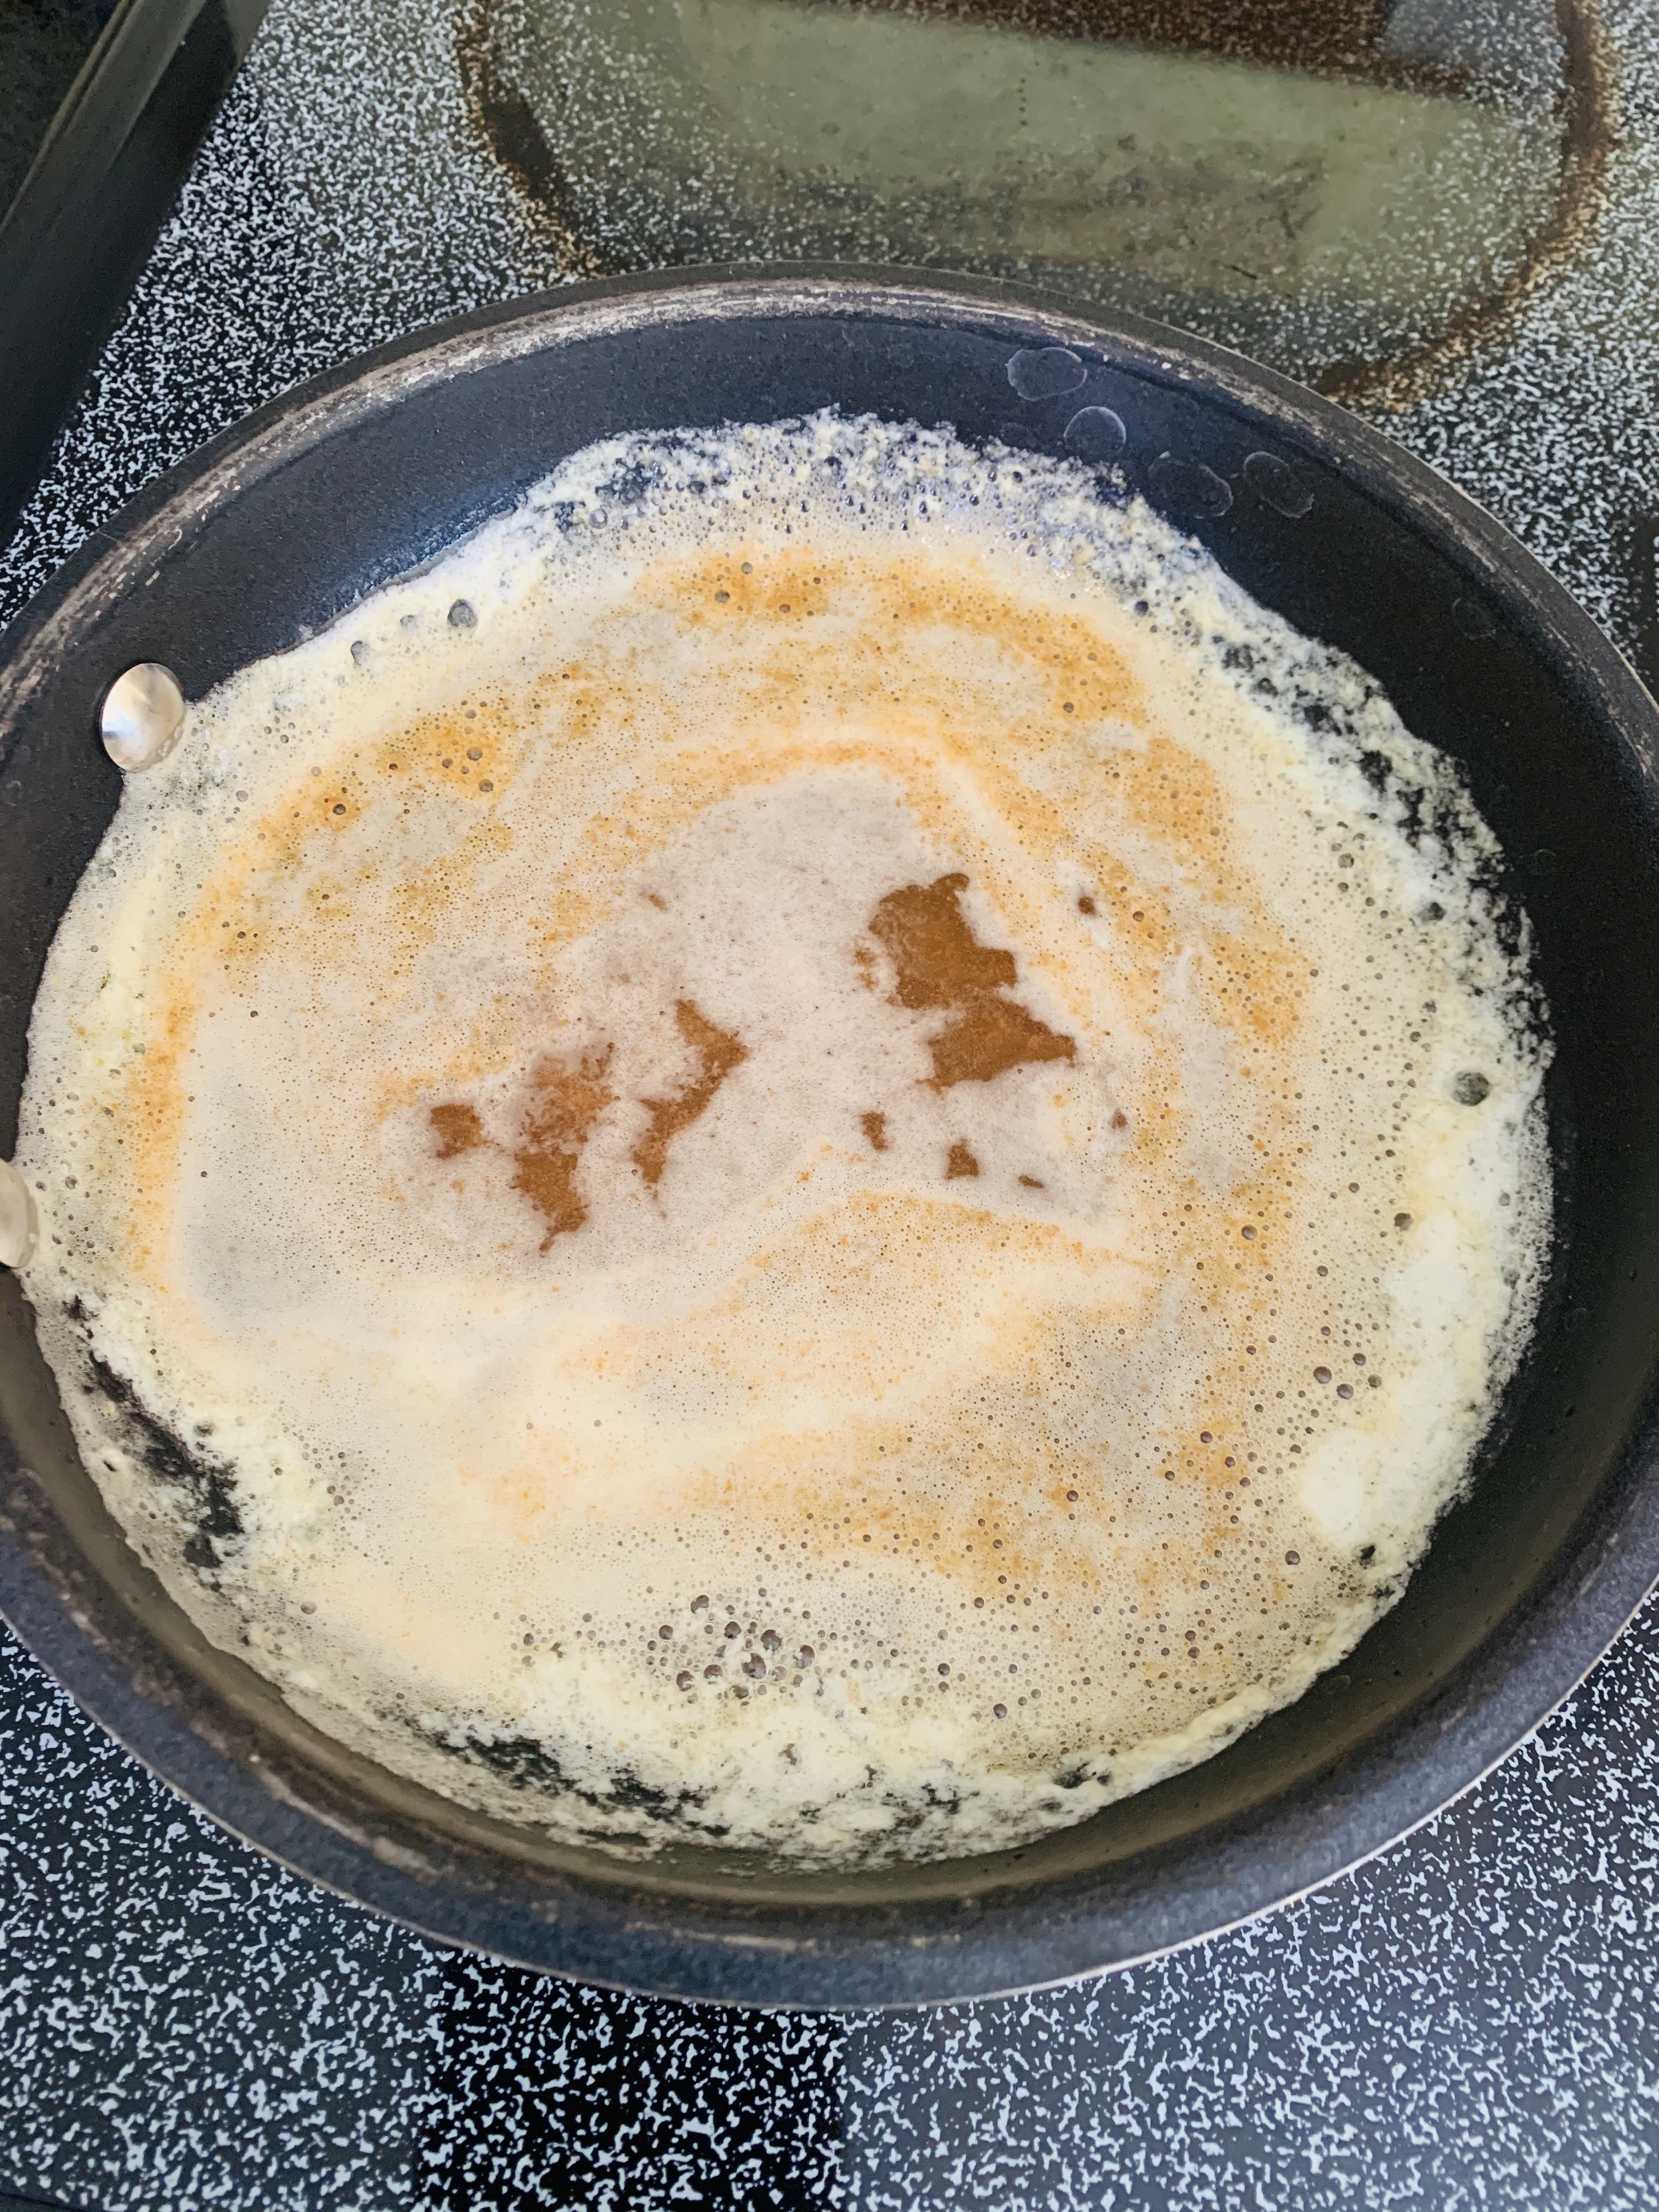
  5. Make the cornstarch wash (mix 1/2 cup of water and 1/2 tsp of cornflour and microwave for 1-2 minutes till glossy )
  6. Preheat oven to 450 F with a baking stone for 30 minutes. This bread needs steam at the start of the baking to  soften the crust and to allow it to rise. Any steam injecting method will work. I bake in a covered dutch oven if I am baking a round, if I am baking a loaf , I add a pan with water while the oven is preheating.
  7. Paint the top of the loaf with cornstarch wash, sprinkle with caraway seeds. If you are making a round- make a slash with a knife about an inch deep. If you are baking a loaf- your top will split (I’m ok with that, if you aren’t- there are slashing techniques to prevent that).
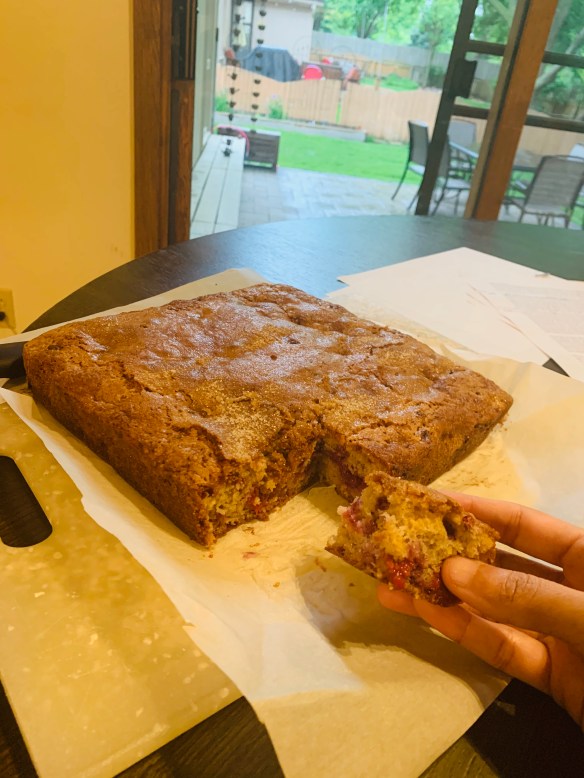
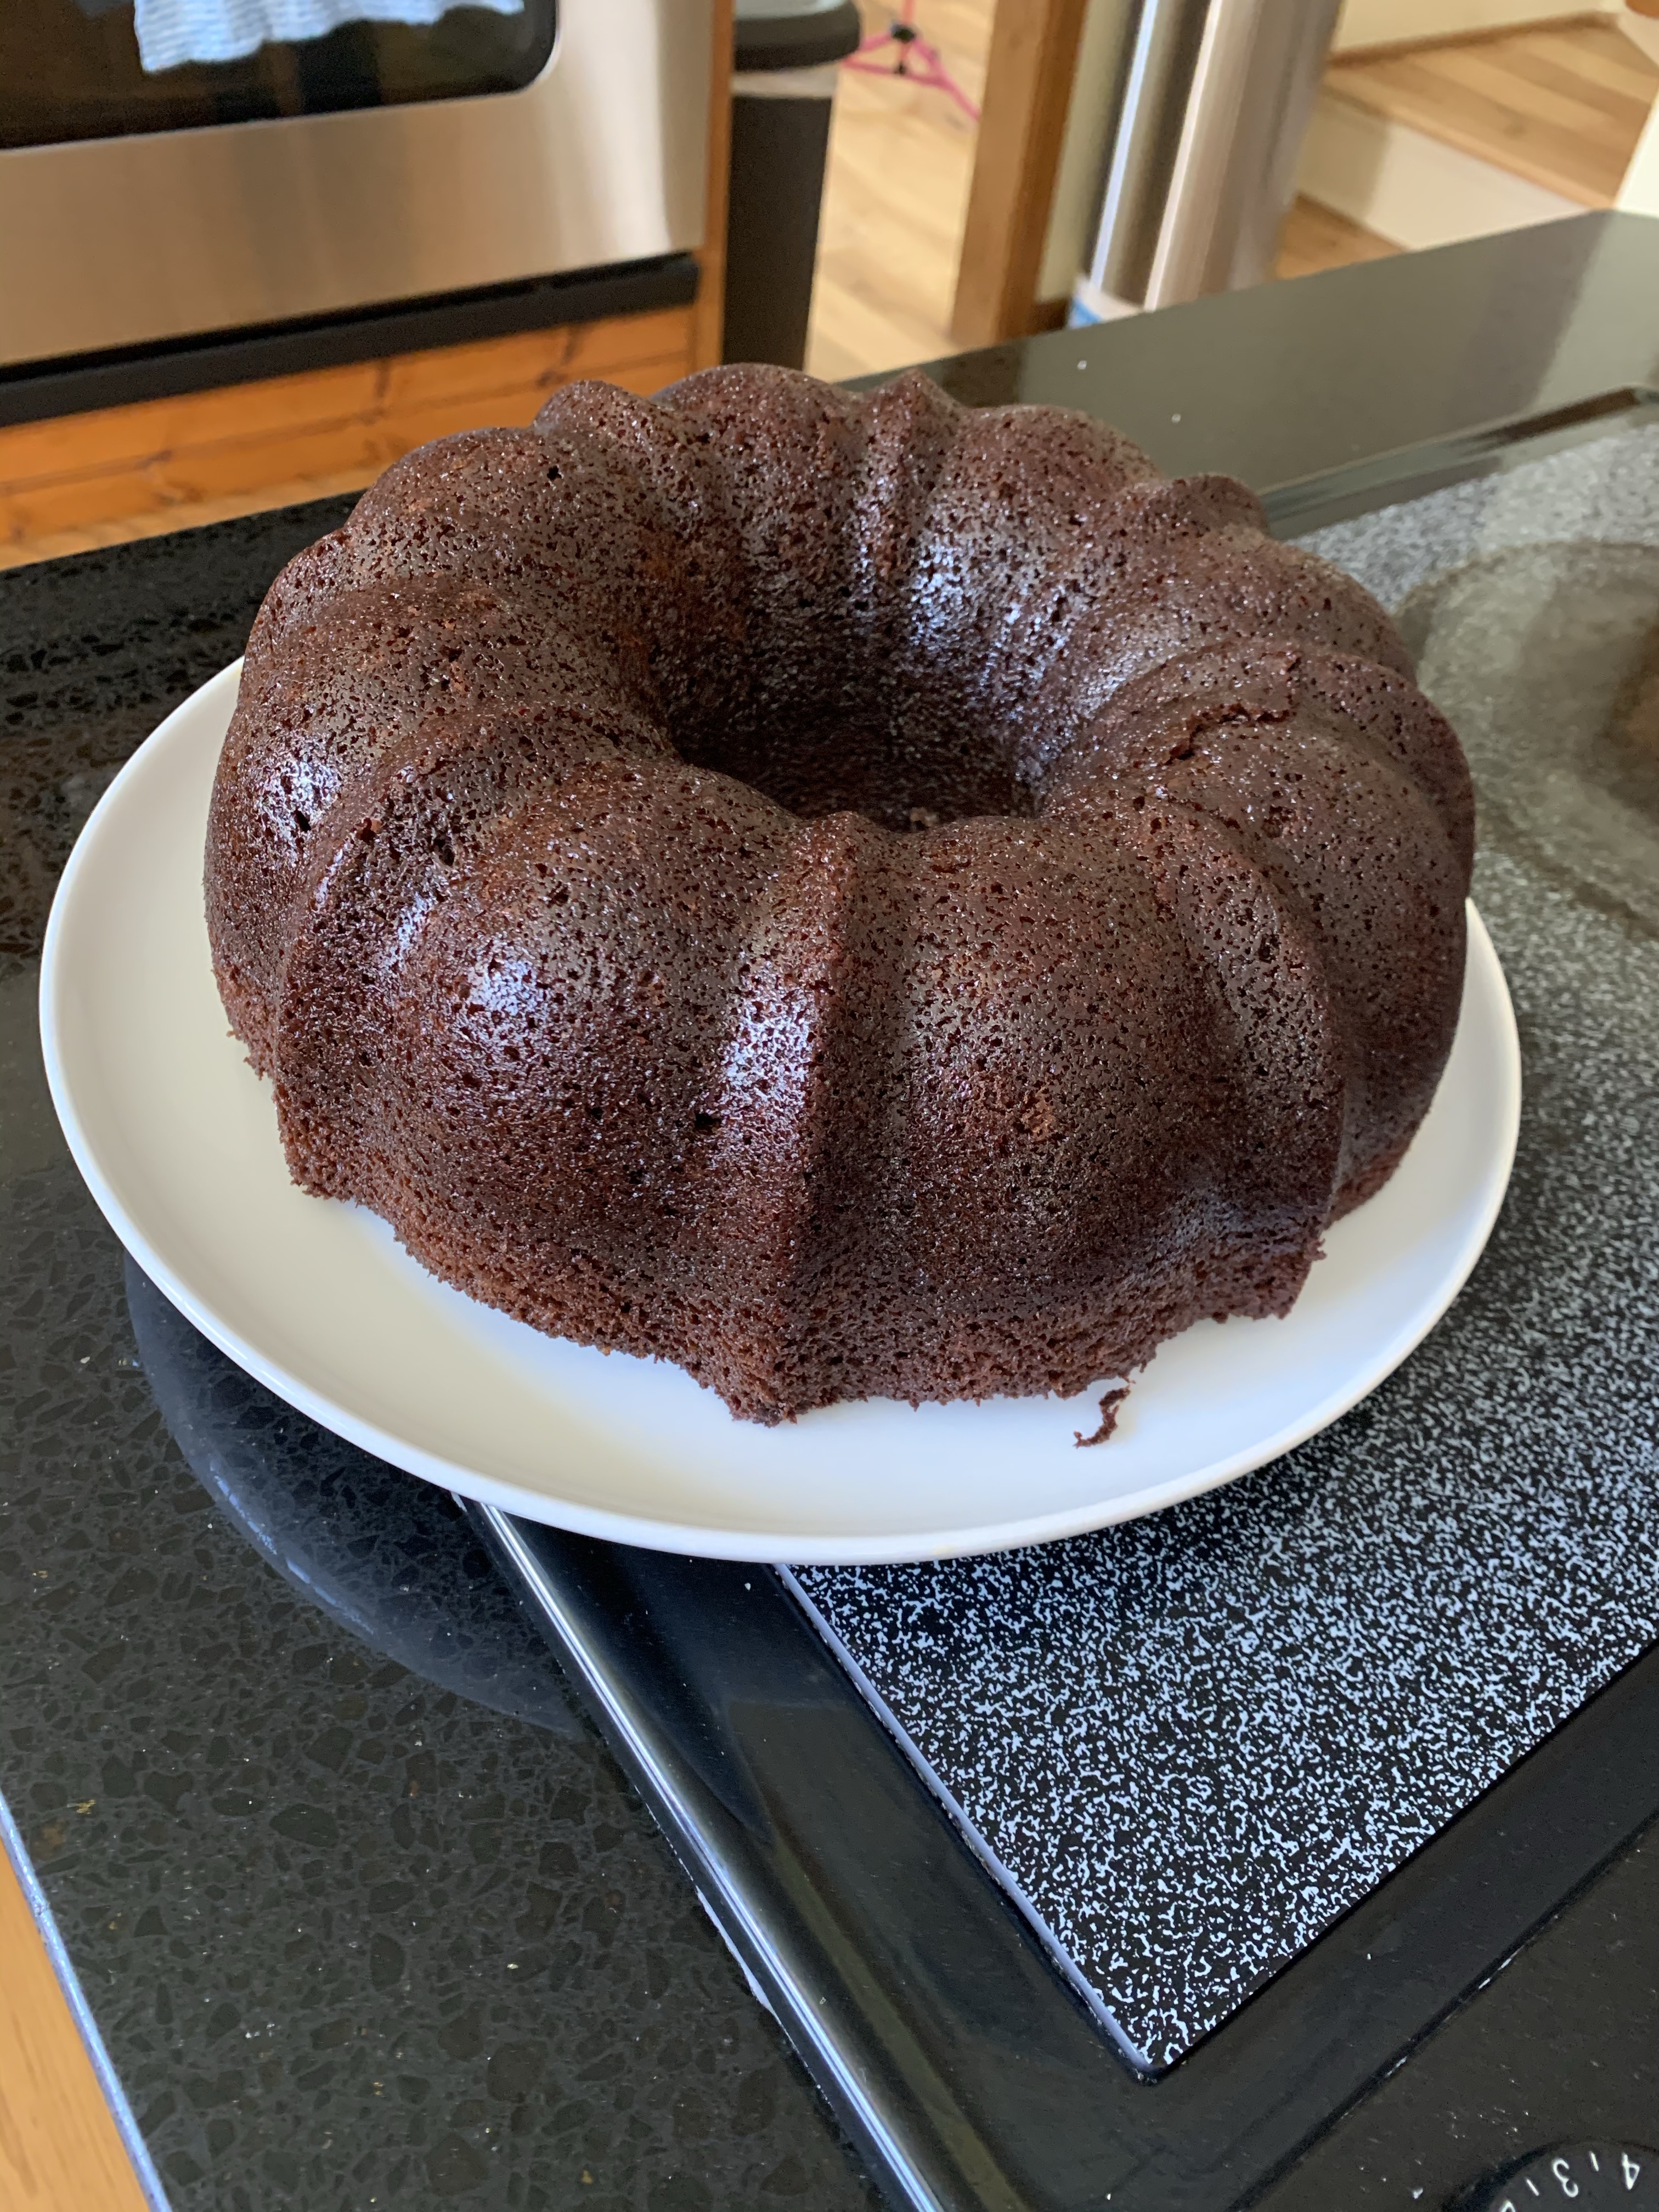
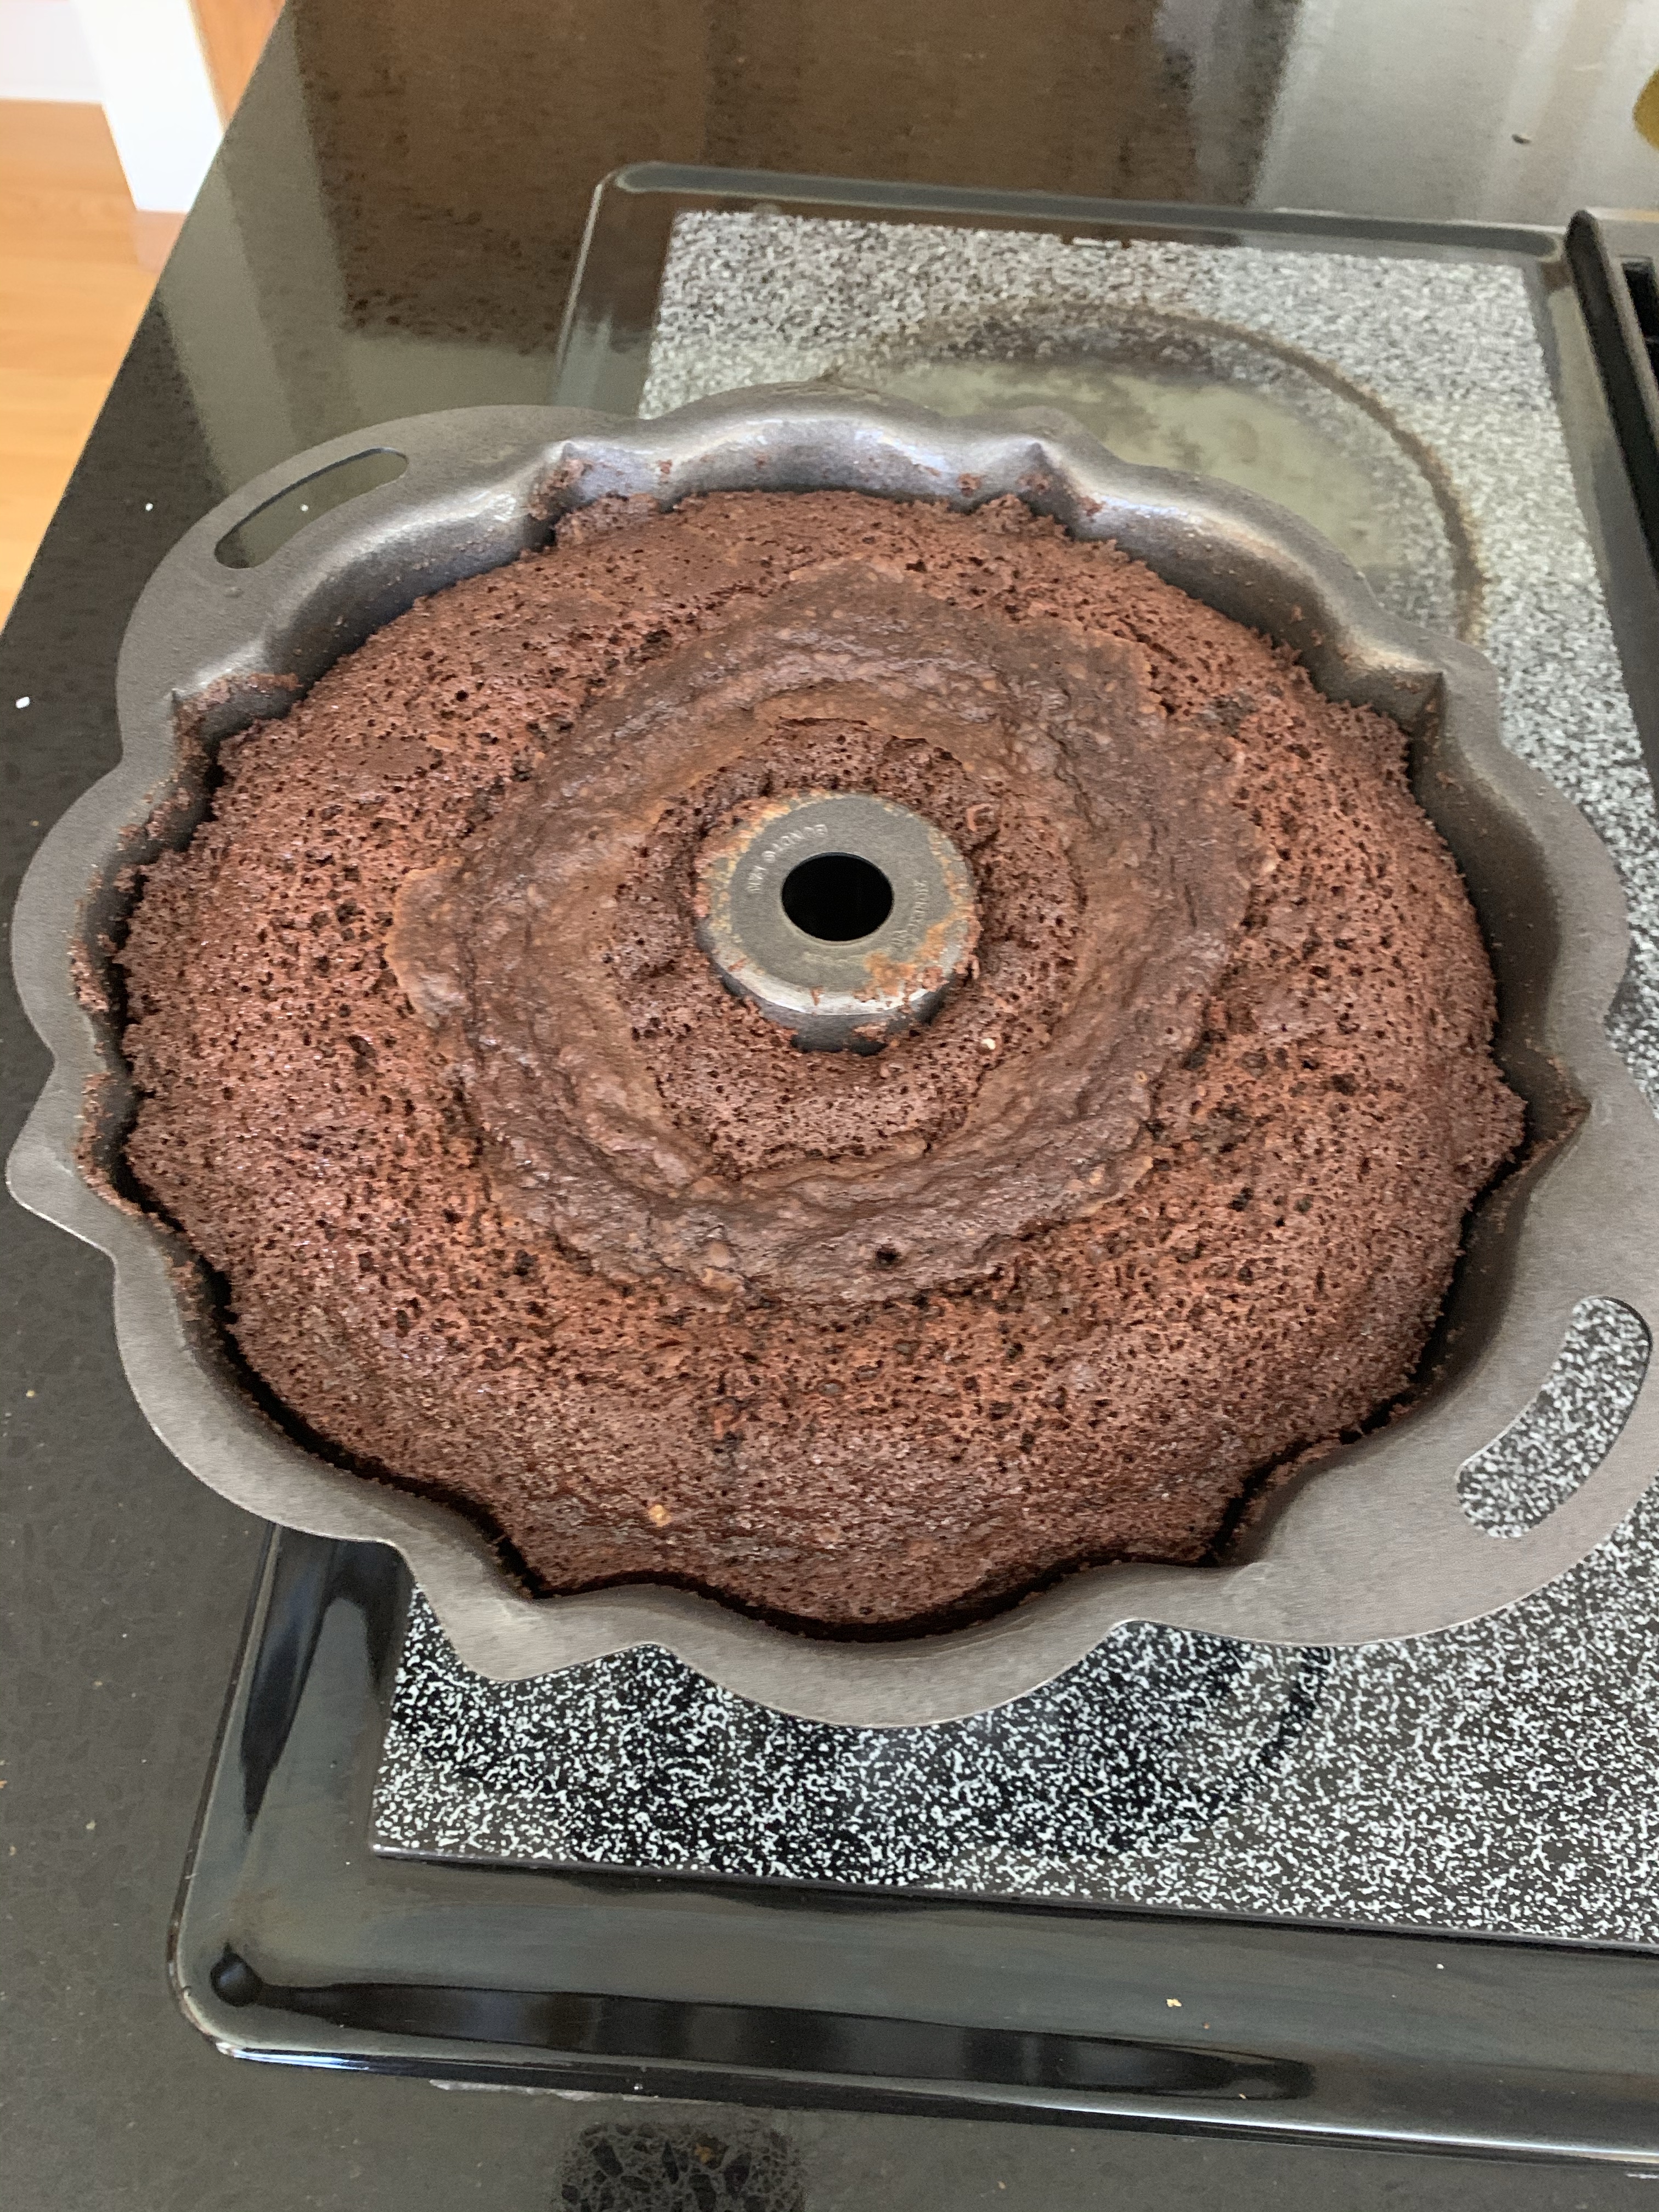
  8. Bake for 30 minutes. Cool before slicing.

Dal Makhani

Dal Makhani is the king of all dals. This is a restaurant dal, a dal to be savored with butter naans fresh out of the tandoor. Unless you live in Omaha, where what passes for dal is a sad approximation of the real thing. Here is how I make the dal makhani of my dreams. Warning- this is a slow  cook, but with minimal work other than stirring.

1) Soak 1 cup black whole urad dal and 1 cup rajma or red kidney beans seperately overnight

2) Rinse the water off. Pressure cook (I use my cuisinart pressure cooker) the dal  with about 4 cups of water and a tsp of salt for 10 minutes.

3) Separately- heat 2 tbsp of oil, add 4-5 cloves of whole garlic and cook till pale golden. Add the rajma and 4 or so cups of vegetable stock (I use water and better than bouillon). Pressure cook for 15 minutes. This is my standard quick rajma-without-spice-for-rice recipe.

4) Melt one stick of butter. Add 1-2 tsp of cumin seeds and 1 large onion. Caramelize on low heat for 20-40 minutes till dark brown but not burnt.

5) Add 2 tbsp of ginger and 2 tbsp of garlic and 1 14oz can of San Marzano tomatoes (pureed) and 1 tsp of red chilli powder (I like using the Korean gochugaru) . Cook this on low heat till the butter seperates from the paste. This takes about 15 minutes

6) Add the dal and the water and 1/2 cup of kidney beans and 1/2 cup of the kidney bean water (from the pressure cooker). Cook stirring frequently for 15-20 minutes

7) Add 1tsp of garam masala and about half a cup of heavy whipping cream

This makes enough dal for 10 people or so.  It freezes beautifully- I generally freeze half if there is a pandemic and no one to share it with

dal

Frozen Berry Cake

The quarantine has changed my baking. The creaming and the whisking and the finicky angel food and genoise sponges are in the past. Give me a good solid oil cake using the muffin method anyday. If the cake can use up the frozen berries that have been in the freezer since the smoothie phase years ago- even better! This is based off a NYT Dawn Perry recipe.  Couple of things to remember- don’t defrost your berries, this is a slow cooking cake and the berries form their own jammy pockets. Also poking this cake with a skewer to see if it is done may or may not work- you may hit some fruit which will be wet. The sugar on top is essential- the crackly crust goes brilliantly with the jammy fruit. I’ve used a 10 oz bag of just rasperries and a 10 oz bag of mixed berries- works great with both. Cut the strawberries into rasperry size bites.

Heat oven to 350 F and prep a 9 inch square or round pan (butter and flour/PAM spray/parchment). Parchment works best for this cake- it is a soft cake.

Dry ingredients- whisk with a fork to combine: 1.5 cups all purpose flour, 1.5 tsp baking powder, 1/2 tsp baking soda, 1/2 tsp kosher salt

Wet ingredients: whisk well till sugar dissolved: 1cup sugar, 1/2 cup buttermilk (or milk with 1/2 tsp vinegar) , 1/2 cup neutral oil (canola, vegetable etc), 2 eggs and 1 tablespoon vanilla extract

Mix dry and wet ingredients till just mixed (there will be lumps- such is life) . Toss a 10 oz bag of frozen berries with 1 tbsp of flour -gently fold into batter.

Add batter to pan, sprinkle 2 tablespoons of sugar evenly on top and bake for 55 minutes or so till the top is golden. Eat with whipped cream if you are feeling particularly indulgent and the news has been really depressing.

IMG_3822

Lemon olive oil cake

Olive oil makes cakes moist and savory and altogether delicious in a very different way from butter. I’ve tried so many combinations of olive oil cakes and lemon pound cakes. This one is a winner every single time. It is a Melissa Clark recipe and the taste/effort ratio is off the charts.

Heat oven to 350 F and prep a 1 lb loaf pan (8 inch) with your anti-stick prep of choice (butter/flour, PAM baking spray, parchment)

Get dry ingredients ready and mix them around with a fork : 1 3/4 cup all purpose flour, 1.5 tsp baking powder, 1/4 tsp baking soda, 1/4 tsp fine sea salt

Get wet ingredients and combine with a whisk till sugar is dissolved- 1 cup sugar, 2 tsp lemon (or lime) zest, 3 tablespoons lemon (or lime) juice, 1 tablespoon poppy seeds, 1/2 cup buttermilk (or milk with 1/2 tsp vinegar) and 3/4 cup olive oil (the fruitier the better) with 3 large eggs

Mix the wet and dry ingredients till they just come together- don’t overmix! An occasional lump is fine. Pour in prepared pan and bake for 1 hour or so. Let your whole house smell of cake and deliciousness. Cool for 10 minutes and remove from pan

Make a glaze with 1/2 cup confectioners sugar and 1.5 tbsp lemon (or lime) juice. Poke holes with a skewer in the cake and pour glaze on top. You should let it cool before eating but this cake is impossible to resist.

IMG_3874


Spring Asparagus Pasta with capers and lemon

The best pasta primavera I’ve ever had was in a small Italian restaurant (whose name I’ve forgotten) in the upper east side in NYC. The pasta was fresh, the sauce was brothy, lemony and creamy and the vegetables were delicious. It was a memorable meal. This recipe is in homage to that pasta and to all the tiny Italian restaurants in New York.

Boil water- steam or boil asparagus broken into 2 inch chunks for 2 minutes . Cook pasta in the same water. For the sauce- add 1-2 tbsp of butter, add some chopped garlic and 1-2 tbsp of capers till the garlic just starts browning. Add a cup of vegetable broth and cook for about 5 minutes till it is reduced by half. Add asparagus, a splash or two of heavy cream and 1-2 tsp of lemon juice. Toss pasta with sauce and garnish with parsley and Parmesan cheese

Layered rice bake or rice casserole without the mushiness

In India- we like our rice to be loose and fluffly (except in khichdi and in kheer). I do like the concept of rice casseroles but the mushiness of the rice and the egg didn’t work for me. This modification of flavoring and layering the rice similar to a biryani and skipping the egg works well for my family. The bottom layer gets a little crispy and the cheese and the flavors permeate the whole dish. This is another no-recipe recipe and prep time is less than 10 minutes (rice in rice cooker, the potatoes boil while  you make the sauce) – use whatever sauce you wish, enchilada sauce goes beaurifully with this too or butter chicken gravy. Use whichever vegetables you have available or even beans.

Layer in a large baking dish

  1. Cooked rice (from 1 cup uncooked rice) with some olive oil or ghee or butter and salt.
  2. Vegetables – I used boiled potatoes, green beans and corn
  3. Sauce- I used my version of a vegetarian gravy- Brown 1 medium red onion with 1-2 tbsp of butter. Add 2-3 cloves of garlic. Add 1 tbsp of flour and brown slightly for 1-2 minutes. While whisking, add 1 cup of vegetable stock. Boil for 2-5 minutes till thickened. Season with salt and pepper and any other flavors (I used dried Italian seasoning and 1 tsp of dried mustard). Add a few tbsp of heavy cream- taste for seasoning again.
  4. Cheese and panko bread crumbs layer (moistened with olive oil and salt and pepper)

Bake at 350 for 10-15 minutes covered with foil and then without foil for 5 minutes to crisp the top

Masala Bread with curry leaves and turmeric

Flavor in Indian cooking comes from the tadka, when oil is infused with dried spices. This oil carries the flavor to the vegetables, dals, rice. This masala bread uses the same technique. The flavor really comes through and the bread is a lovely bright yellow. This is delicious with regular tomato soup and in a grilled cheese sandwich.  I’ve modified my favorite bread recipe (Olive oil dough) in my favorite baking book- the New Artisan Bread in Five Minutes a Day. If you want to understand bread, I’d suggest you start with this book. Here is how I made this bread.

This is enough for two 1 lb loaves approximately.

Step 1: heat 2 tbsp of olive oil or regular oil- add 1 tsp of mustard seeds and wait for them to sputter, then add 1 tsp of cumin seeds, 1/2 tsp of turmeric, a pinch of asafetida and 1 tbsp of chopped kadipatta leaves (curry leaves). This is the tadka that will flavor the bread- let it cool

Step 2: make your no-knead dough. Mix wet ingredients (oil, 1 1/3 cup of lukewarm water, 1/2 tbsp of sugar, 1/2 tbsp of kosher salt and 1/2 tbsp of instant yeast) to 3 cups of bread flour (if you use all purpose- it comes to 31/4). I use a danish whisk- the idea is to make sure all the flour is moistened, do not knead- this will be a shaggy dough.

Step 3: Rest at room temperature till the dough rises and falls- this took much longer than the routine 2 hours – my first rise took 4 hours or so

Step 4: Refrigerate for at least 2 days – this is important for the sourdough flavor to develop. The dough can be used within the next 10 days or so

Step 5: Baking day!! Remove half of the dough and shape. Shaping is critical and should be done gently. I baked one loaf in a loaf pan and one free form boule. Both are shaped differently. For the loaf- grease a 1 lb loaf pan (8 inch), remove half the dough on a floured surface- flatten into a rectangle with 8 inch length and then tightly roll and seal seam. For the boule, flatten slightly and then pinch each end to the center to form a tight ball- roll it slightly. The dough should be covered with a thin film of flour and the top should be smooth.

Step 5: final rise- room temperature for 1-2 hours till the dough is well proofed- when you poke it with a floured finger- if the indentation comes up slowly but not completely- it is well proofed. If it comes straight back- you need more proofing, if it stays deep- it is over proofed and likely a loss- still tasty most of the time.

Step 6: Bake in a 450 F oven with steam. I use a dutch oven or a cloche to do this covered for 15 minutes and then remove the cover for the last 10 minutes. Cool the bread for at least 2 hours before slicing.

Chocolate Dump it Cake

When your lovely neighbor brings you 10lbs of flour from Costco and leaves it on your porch – you bake a chocolate cake.

This is my go-to chocolate cake recipe modified from Amanda Hesser’s NYT recipe. This cake does not need a mixer- just a wooden spoon. The frosting is outstanding. Feel free to use milk chocolate or add some sugar to the frosting if it is too intense for you.

The recipe just has 3 steps. Well 4 if you count- preheat oven to 375 F as a step. Step 1: Heat 1 stick of butter (8 tbsp), 2 cups of sugar, 1tsp of salt, 4 oz of unsweetened chocolate and 1 cup of coffee or water in a pan till the butter is just melted. Cool to room temperature-ish.  Step 2: Add 1 cup of milk, 1 tsp of vinegar, 1 tsp of vanilla and 2 eggs to the chocolate mixture and whisk till smooth. Step 3: Add to dry ingredients (2 cups all purpose flour, 2 tsp baking soda, 1 tsp baking powder) and mix till all the flour is incorporated. Once it comes together- stop, overmixing will make this cake tough.

Butter and flour a bundt pan and cook for 35 minutes. Cool for 10 and invert. For the frosting, melt about 3/4 cup of semisweet chocolate chips in the microwave in 30 second increments, add 3/4 cup of sour cream (or greek yogurt). I slice the cake in half and fill it and smear the rest on topics .